Friday, 13 March 2015

How to Line an Alligator Clip


You will need double sided tape, an alligator clip, ribbon and a lighter.


1. Measure a 10cm length of double-sided tape with a ruler. Cut the piece of tape with scissors. Starting at the base of the clip place the double-sided tape onto the underside of the clip about a centimetre in from the hinge. The underside of my alligator clips have a small circular hole. Ensure you clip is the right way up. Press the tape onto the clip firmly to ensure it adheres. I use a special type of framers tape which is especially strong called D670 tape. As an alternative to double sided tape, you may also follow the same method solely with ribbon using hot glue.


2. Continue pressing the tape over the hinge end, pressing the tape into the hinge with the tip of your finger and then pressing the tape around the top of the clip. Then follow along the top side of the clip, remembering to press down firmly.


3. Open the alligator clip by pinching the hinge with you fingers. Hold the clip open. Attach the sticky end of the tape to the top inner edge of the clip.


4. Press down on the tape covering your clip to ensure it is adhered to it firmly. 

5. Measuring the same length of ribbon as you did with the tape in step one, heat seal the ends of the ribbon by gently running the ends thorough the flame of a lighter. This will ensure your ribbon does not fray. 

6. Doing a small section at a time, Remove the backing off your double-sided tape and follow along the same path with your ribbon, pressing down firmly to ensure it sticks. 


You should now have a completed and lined alligator clip ready to wear on its own to attach to one of your creations. I often will add a non-slip grip to the topside inner prong of my clip to help it stay firm in my hair.


If you have any questions or comments, please do not hesitate to let me know.

x Tegs. 


Monday, 2 February 2015

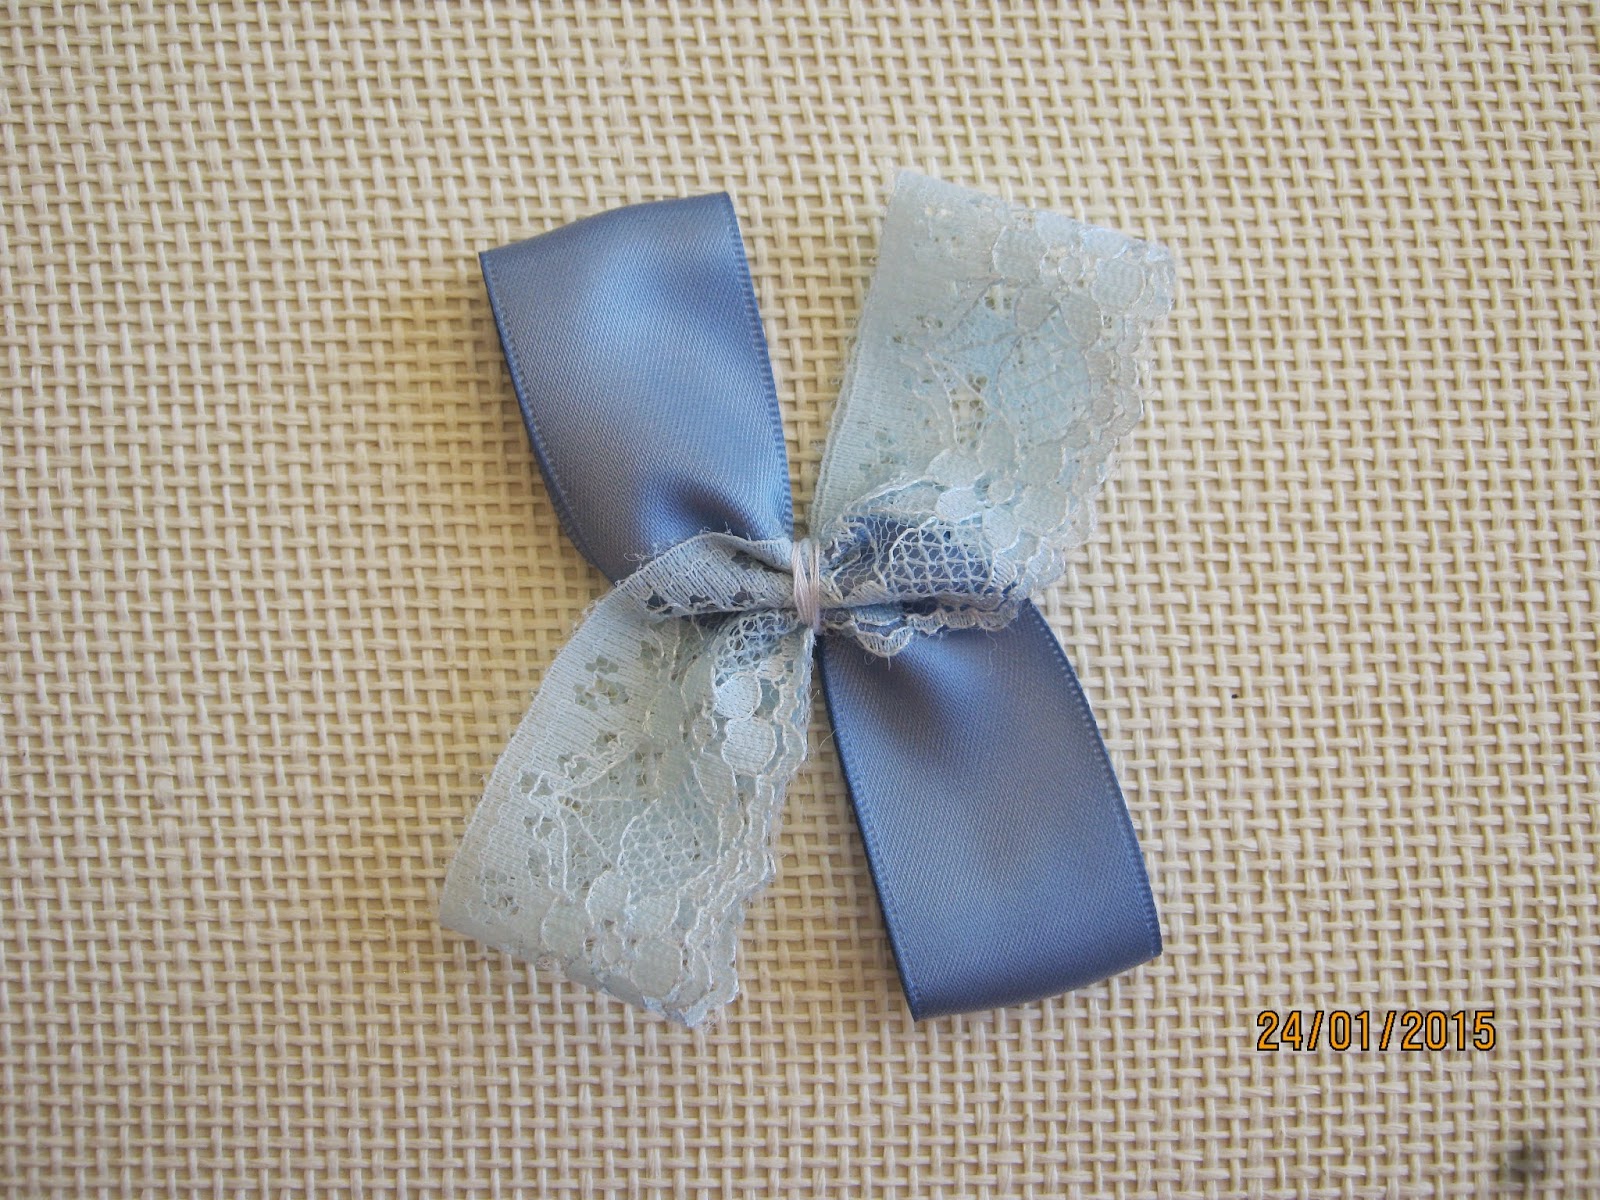
Cross Over Bow Tutorial

CROSS OVER BOW TUTORIAL
 
This Bow is provided by Tegan of www.facebook.com/clippiecatchers

 
You will need a 2 wide main ribbons (or lace), a thinner centre ribbon approx 4 inches, a lighter 
and needle & thread (about 30cm doubled over)
 
1. Cut Ribbon. For this bow cut your two pieces of ribbon to 9 inches. Heat seal the ends by gently
 running a lighter flame over them. Prepare your needle and thread, knot it at the end, leaving about
2cm of tail.


2. Lay your ribbons out over each other to form an “X”. Ensure that they are centred. 


3. Starting with your bottom ribbon, fold the ends into the centre “X” with a small amount of 
overlay. Hold in place with your finger and do the same with your top ribbon. 
Ensure that they are even. Continue to hold in place.


4.Whilst still holding the centre of your bow, take your needle and thread and straight stitch 
through the middle, top to bottom. 
Start on the top side facing you as this will be the back when you finish.


5. Next, flip your bow over and pull down on your thread so that it gathers your bow together. 
Adjust your loops at this stage to make sure they are even. Then wrap your thread tightly 
around the centre of your bow 3 times and then tie it off at the back using the tails of your thread.


6. To complete the center knot you will need your centre ribbon. 
Tie a knot in the centre of your ribbon. Once you have pulled it tight you may need to rotate 
the tails close to the knot so you have a smooth pretty tail coming from either side of the knot.
 
 
7. Put a tiny dot of glue on the centre of your bow and secure the knot in the centre. 
Then fold each tail over one at a time securing it with hot glue at the back of your bow. 
Trim the tail if it overlaps too much and repeat with the other tail. 
Heat seal then exposed tail of ribbon. 


You will now have a completed bow to attached to a headband or clip.


If anything is not clear please do not hesitate to ask. :)


Tuesday, 3 June 2014

Fabric Skater Boy Cuff Tutorial

1. Cut out two pieces of fabric and 1 piece of quilting batting measuring 9 inches long by 2.5 inches wide. 
You can adjust the length and width if needed but this will fit from ages 3 up to a small adult. 
 

2. Place your fabric pieces that the right sides are facing each other. 
Then place your quilting batting on top of them. 
Use a few pins down the centre to hold it secure.
 

3.Straight stitch around the around the outside of your fabric and batting leaving an inch wide gap at one end so that you can turn it in the right way. 
Remember to reverse stitch at the beginning and end of all your sewing. This will hold it secure.
 

4. Next, using a wooden spoon handle or chopstick, feed your cuff through itself and back out the right way. 
Please see pictures below.


5.Tuck in the fabric at your open end and straight stitch it closed. Remember to reverse stitch at the beginning and end of all your sewing.

6. Next, to add structure and support to the cuff stitch straight lines down the two sides and centre. 
Remember to reverse stitch at the beginning and end of all your sewing.

7.Next, hand stitch your button on the opposite end of your cuff. Before stitching your button in place overlap the two ends to determine how tight or loose you would like it. 
Alternatively you can sew 2-3 buttons vertically down the end of the cuff for varying sizes.

8.You are almost finished!!! Cut a length of thin (approx 1cm wide) ribbon approximately 6 cms in length. You will also need a button approximately 2cms wide. 
Looping and placing your ribbon as shown in the picture below, straight stitch it in place reversing your stitch back and forth a few times to ensure its strength.


9.You should now have a finished fabric cuff that looks like this. How about trying out a whole range of colours and for the girls you can add bling or flowers to the top it. 


Friday, 11 January 2013

Craft Projects - Picture Pretty

There seems to be an overall problem with photo uploads lately but Blogger has suggested a way around this.

So i want to take the opportunity to share with you some of my more recent craft projects that I'm just a bit chuffed with that i wasn't able to share in my previous post.

Without Further Ado:

 
The first dress i ever made. The first thing i ever sewed at all. It is now too short to be a dress so i did this instead.....


Ran up a super cute pair of matching shorts to go under it!!


This little dress currently fits Miss C and is made from gorgeous vintage fabric gifted to me by my mum. The same wonderful woman who taught me to sew in the first place!! Thanks Mum. xx
 
This is a little handmade birthday gift for one of my nieces. A simple monogrammed tote bag, Shabby chic bow hairband and ribbon bow hairtie.
 

Some of the fabric flowers I've made - These go really cute attached to headbands. Ive even done a few custom school colour orders...like this:
 
Ive also been making hairclip holders. Such as these:
 
 
There are so many more hairclip holders, bows, headbands and dresses I've had the privilege to make but i don't want to overload you with photos.
 
Id love to do a few posts with step by step tutorials for a few of them and i hope you will have the joy of making your own. If crafting and sewing isn't really your "thing" but you still want something for yourself, i do sell some of my creations over on facebook and would be happy for you to visit me!!
 

Friday, 4 January 2013

Crafty Hiatus

Like so many people i took a bit of a blogging hiatus over the holiday season.

I have also been spending a lot of my quiet moments crafting over the last couple of months.

I love to read and spend time with my family and don't really get a lot of absolutely "i have nothing to do" free time BUT i really needed something that was more for me than anyone else. Something that gave me a different sense of accomplishment and let any of that creativity in my brain run riot.

Like a lot of crafting and sewing it first came from a need and a want. My daughter could do with some new dresses and i wanted something "more" than what i was doing with my time. Something was missing. Something that was about me and not anyone else.

So i bought a simple sweet pattern and asked me wonderful mother to come over and help me learn.....and from there it has grown to more dresses, hairclip holder and flower headbands.

Ive even opened a little page on facebook. Some beautiful ladies have either bought some premade items from me or custom ordered their own. I'm so grateful for them as their different needs and wants sparks something new for me to create.

Id love to share some of them with you. xx

*** I seem to be having an upload problem on my blog. This post has been in draft for a little while now as it wont let be upload any photos to share with you. So id still love to share some of what I've been creating with you so feel free to have a look at my facebook business page Clippie Catchers.
https://www.facebook.com/ClippieCatchers