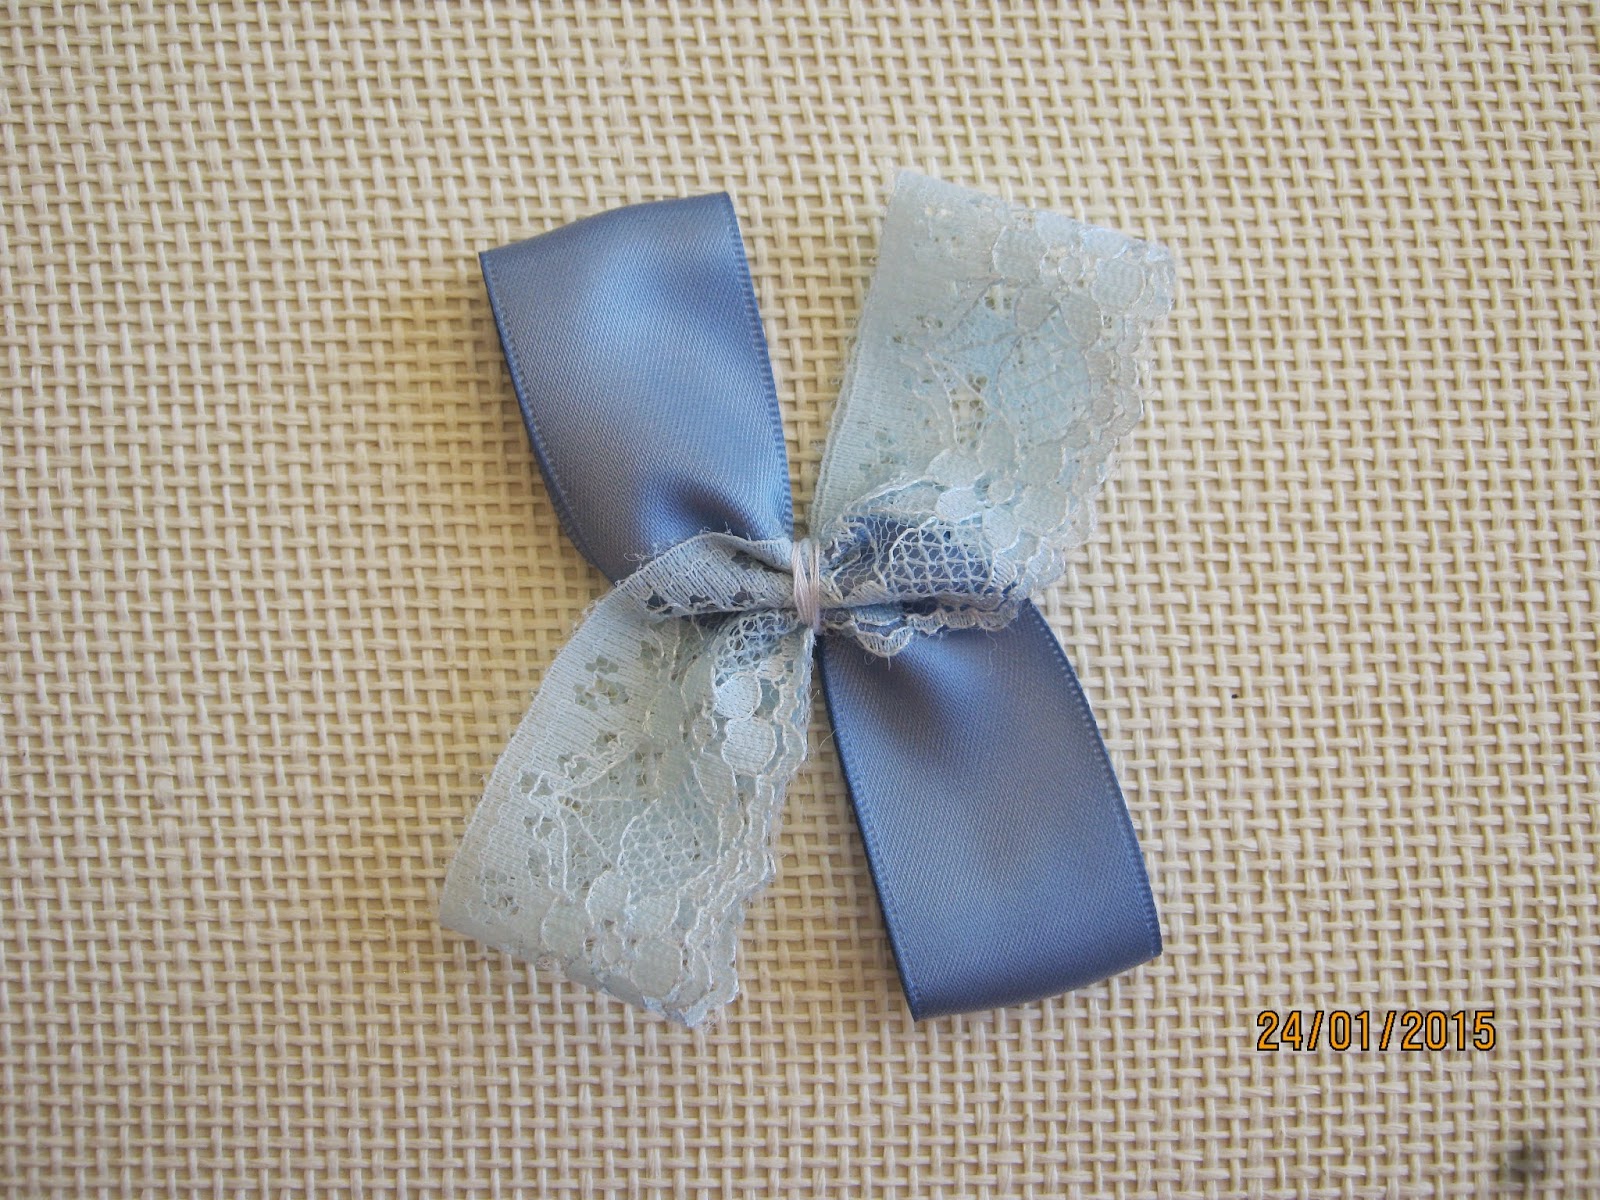
This Bow is provided by Tegan of www.facebook.com/clippiecatchers
You will need a 2 wide main ribbons (or lace), a thinner centre ribbon approx 4 inches, a lighter
and needle & thread (about 30cm doubled over)
1. Cut Ribbon. For this bow cut your two pieces of ribbon to 9 inches. Heat seal the ends by gently
running a lighter flame over them. Prepare your needle and thread, knot it at the end, leaving about
2cm of tail.
2. Lay your ribbons out over each other to form an “X”. Ensure that they are centred.
3. Starting with your bottom ribbon, fold the ends into the centre “X” with a small amount of
overlay. Hold in place with your finger and do the same with your top ribbon.
Ensure that they are even. Continue to hold in place.
4.Whilst still holding the centre of your bow, take your needle and thread and straight stitch
through the middle, top to bottom.
Start on the top side facing you as this will be the back when you finish.
5. Next, flip your bow over and pull down on your thread so that it gathers your bow together.
Adjust your loops at this stage to make sure they are even. Then wrap your thread tightly
around the centre of your bow 3 times and then tie it off at the back using the tails of your thread.
6. To complete the center knot you will need your centre ribbon.
Tie a knot in the centre of your ribbon. Once you have pulled it tight you may need to rotate
7. Put a tiny dot of glue on the centre of your bow and secure the knot in the centre.
Then fold each tail over one at a time securing it with hot glue at the back of your bow.
Trim the tail if it overlaps too much and repeat with the other tail.
Heat seal then exposed tail of ribbon.
You will now have a completed bow to attached to a headband or clip.
If anything is not clear please do not hesitate to ask. :)


No comments:
Post a Comment